
Year of the Cicadas, a project by XR Pediatrics about the loss of a child and the evolution of grief over time, has been funded in part by the Unity for Humanity Grant.
Year of the Cicadas Project Funded by the 2023 Unity for Humanity Grant
Year of the Cicadas, a project by XR Pediatrics about the loss of a child and the evolution of grief over time, has been funded in part by the Unity for Humanity Grant.
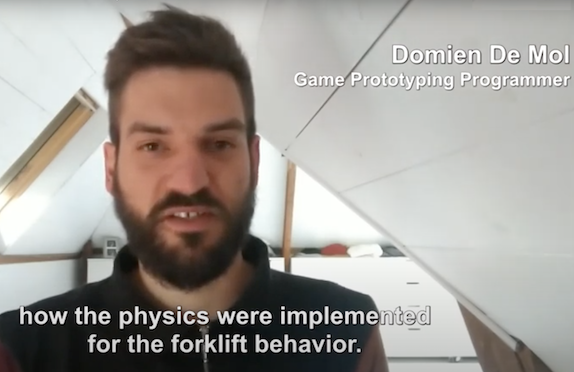
Find out about how we created convincing fork lift physics in Unity for one of our clients in NYC.
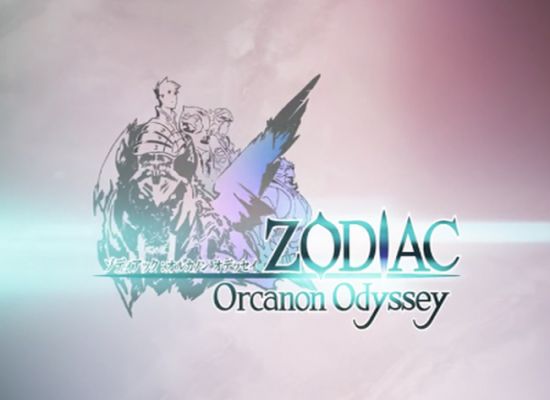
When we’ve molded an idea into a prototype, our job is usually done. Sometimes, clients want us to build even further. Such was the case with Paris based game developer Kobojo, who asked us if we would be able to create a vertical slice prototype for their new JRPG Zodiac: Orcanon Odyssey.
Where in the world is the update of the Unity Graphical User Interface that was promised back in 2011? That’s the question we’re trying to answer in this post by reconstructing the statements Unity has made on the subject.

Due to its limited 2D possibilities, Unity3D isn’t the most intuitive, yet a very fast, way to create 2D game prototypes. Unity seems to be aware of this though, as the company keeps adding features to cater to the needs of 2D development. We take a quick look at some of the latest improvements.

Character creation isn’t always the most thrilling part of a videogame. For the strategic card game Incarnate we wanted to put a unique spin on it by adding a dynamic soundtrack that adapts on the fly when you select different components to assemble your character.
Unity3D is great to work with. However, it isn’t flawless so we’ve added some modifications to accelerate data saving. Three years in, we take our own system to the test to check whether we still have an edge over the improvements Unity has made to its engine over the years.

Happy 2014! As a little New Year’s present for the community, we’re offering a free system you can use in Unity Web Player builds to read request parameters from the URL – without adding JavaScript in your HTML page.

A good racing game flies or falls with the quality of the race tracks. Crafting those manually takes a lot of time. Time you don’t have when you’re rapidly developing a prototype, so we’ve taken a look at some tools to help us create fun race courses on a very short notice.
For PreviewLabs, keeping up with new technologies is of the utmost importance. Balancing the actual prototyping with doing research isn’t always easy, so we put our intern Peter on the job. Here are some topics he will look into so we can build better prototypes for a wider array of platforms.

Recently, we have been looking into technologies that allow integration of Flash animations in Unity3D prototypes and games. This seems to be very useful to create complex 2D animations in Flash, and play them in Unity.
Announcements about updates of Unity3D, our primary working tool, are always a big thing. We’ve taken a quick look at the additions the company is planning to make and although most big changes are targeted at studios who make full quality games, there are some elements that can be of interest to us as well.
Give and you shall receive is what the Bible says and although we’re sure it’s a very good read on turning water into wine, it won’t do you any good when learning how to program. That’s why we’ve decided to give away the gospel of Unity3D to six of our faithful readers instead.

What to do when you want to play a quick game of darts but there’s no dartboard in sight? You whip out your smartphone and use the digital dartboard prototype that’s brought to you by the combined power of PreviewLabs and augmented reality of course. Video inside!
To conclude our series on 2D Game Development in Unity3D, we’ve made a nifty overview of the different methods and when you should or shouldn’t use them. If you haven’t checked out the previous posts, we highly recommend you read those first.

